
Reviewed · PHOTOGRAPHY SESSIONS
Zurich: Professional Photoshoot at the Best Spots
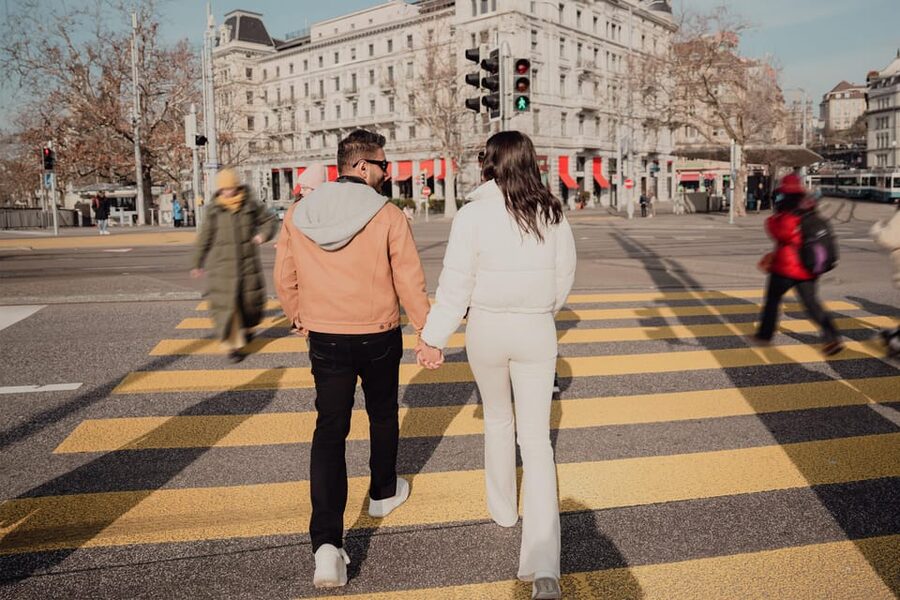
If you want great Zurich photos, this experience is interesting because it removes the hardest part, guessing angles and how to stand. You start at iconic places like the Zurich Opera House and Lake Zurich, then you move through classic backdrops on foot.
I like two things most. First, the photographer gives clear, hands-on help so you can look natural, even if you do not feel confident in photos. Second, you get a timed delivery of a polished set of edited, retouched photos in a digital album, typically within 7 days.
One consideration: the activity is priced per person, and anyone joining the walking part must pay the full price even if they are not being photographed. So it is best when everyone in your group actually wants photos, not just company.
Key things to know before you go
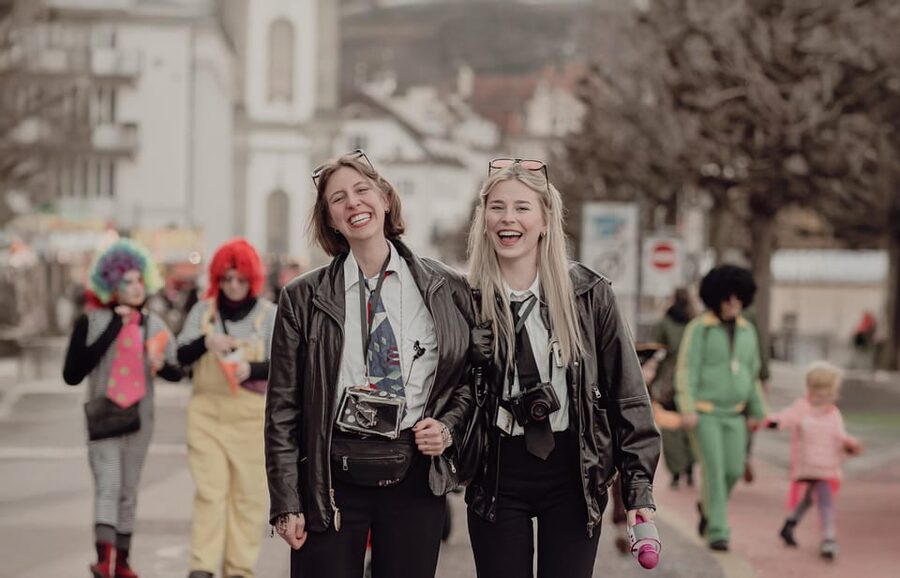
- A pro photographer guides your posing, even if you have zero practice
- Landmark route stays focused and walkable, with a tight 2 to 2.5 hour pace
- Iconic stops include Grossmünster, Münsterbrücke, Old Town, Lindenhof, Rathausbrücke
- You receive a high volume of edited photos, with package sizes tied to group count
- Dress tips are practical, white and beige tend to photograph well
- Small group size matters, maximum group size is 6 for a more personal session
Zurich is built for photos, but you still need a plan
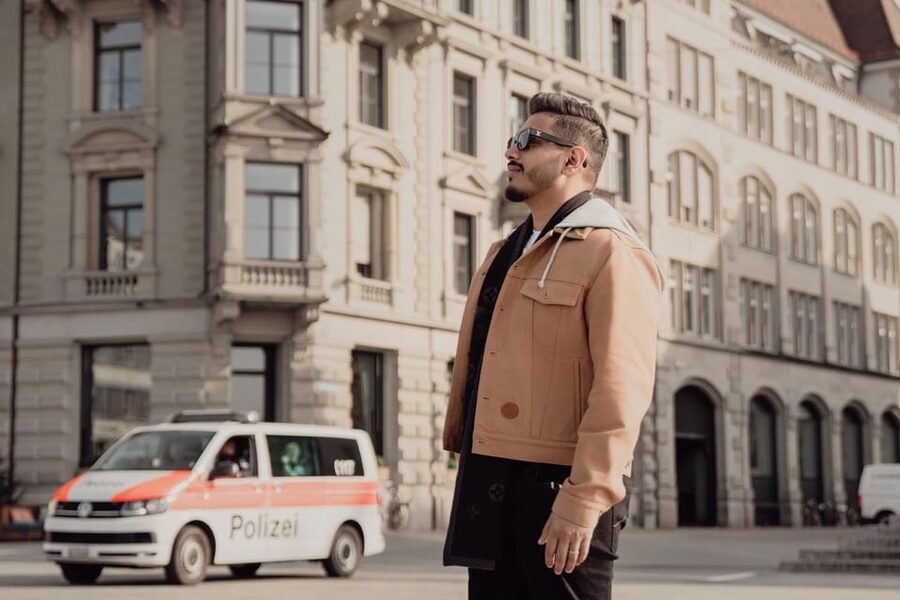
Zurich looks good in photos almost by default. Stone churches, lake reflections, and tidy old streets all do the heavy lifting for you. The trick is getting images where you look great too, not just a pretty background.
That is where a guided professional photoshoot route helps. Instead of wandering with your phone and hoping, you move between the most photogenic spots and get direction on angles and body position.
You can also treat this like a shortcut to the Zurich look. If you only have a day or two, the timing and the stop sequence give you a best-of route that still feels relaxed.
More photo sessions in Zurich:
- DAVOS: Paragliding Tandem Flight In Swiss Alps (Video & Photos Included)
★ 5.0 · 55 reviews - DAVOS: Paragliding For 2 Passengers – Together In The Air! (Video&Photos Incl.)
★ 5.0 · 43 reviews - Private Lucerne Old Town Tour w/ Local Guide & Photographer
★ 5.0 · 13 reviews
Meeting, timing, and the small-group vibe (2 to 2.5 hours, max 6)
Plan on a 2 to 2.5 hour session. That is long enough to get variety, but short enough that you are not stuck in a full day of photo pressure.
The group stays small, with a maximum group size of 6, and the experience can be private or in a small group. In practice, that means you are less likely to feel rushed or lost in a crowd while you get photographed.
Meeting point can vary based on what starting option you book. There are also multiple drop-off locations, so you do not necessarily end up back at the exact start point. If you are fitting this into a packed itinerary, aim to keep some buffer time nearby.
One more thing to factor in: anyone joining the walking portion must pay full price even if they are not being photographed. If you are traveling with a partner who is unsure about getting photos, this detail matters.
Opera House and Lake Zurich: the clean opening for “classic Zurich” shots
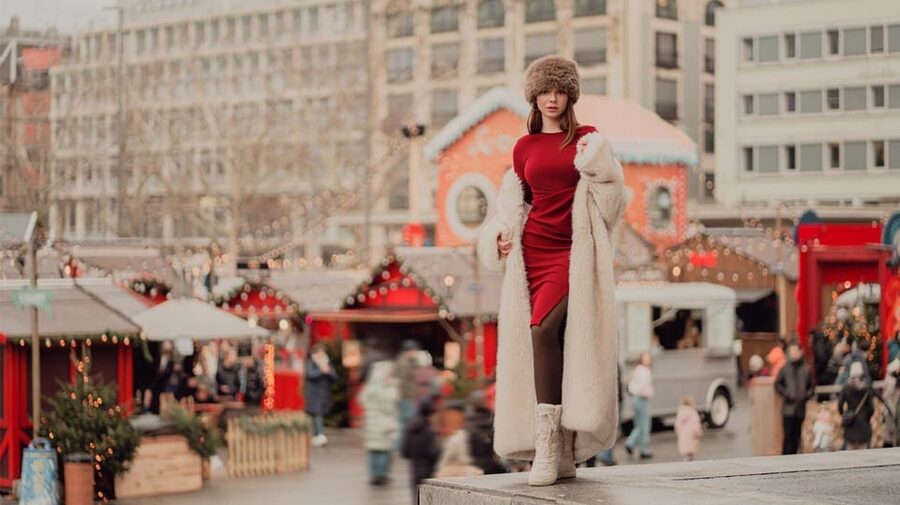
The session starts around the Zurich Opera House area, with Lake Zurich included early in the experience. This is a smart first move because the architecture gives you strong lines and the lake gives you breathing room and natural scenery.
For photos, the Opera House area tends to work well for structured shots and “city landmark” portraits. Lake views are where you often get a calmer look, especially if you can align yourself so the background reads clearly behind you.
The photographer’s job here is practical: help you find angles where your face shows well and the background does not swallow you. If you are awkward in photos, this is exactly the type of stop where simple guidance helps fast.
Grossmünster and Münsterbrücke: where the city gets dramatic fast
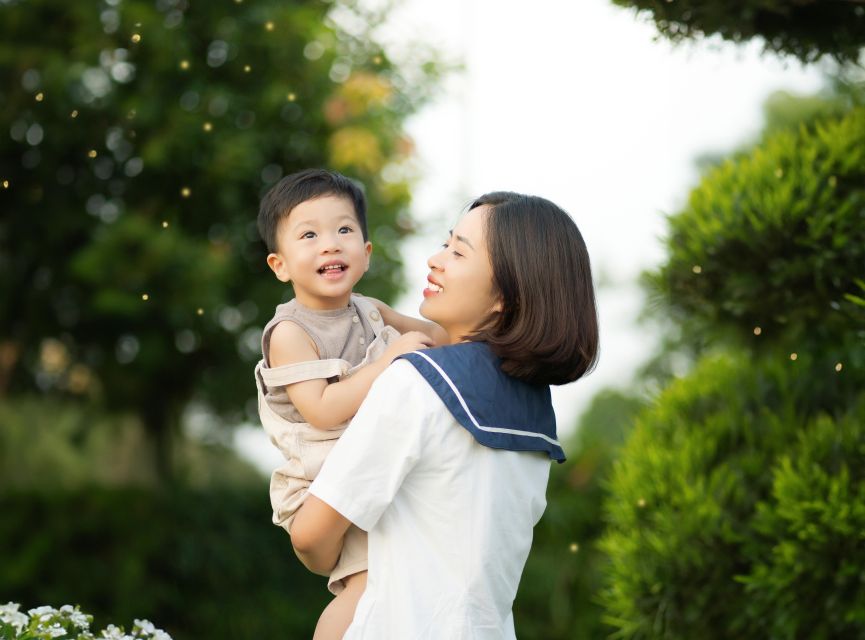
Next you hit Grossmünster, one of Zurich’s most recognizable church landmarks. This stop is great for strong silhouettes, historic textures, and photos that feel unmistakably Zurich without trying too hard.
Then the route moves to Münsterbrücke, a key bridge viewpoint. Bridges are useful in a photoshoot because they naturally guide lines through your frame. They also help you tell a “you are here” story, not just a headshot in front of a building.
You will spend short segments walking between stops, and that matters. In a city like Zurich, lighting and crowd levels shift quickly, so a tightly planned walk helps you hit the spots while the conditions are workable.
A few more Zurich days worth comparing
- Lindt Home of Chocolate Museum Entry Ticket
★ 4.7 · 9,329 reviews - Zurich: Grindelwald, Interlaken & Lauterbrunnen Day Trip
★ 4.6 · 7,123 reviews - Zurich: City Tour, Cruise, and Lindt Home of Chocolate Visit
★ 4.5 · 4,624 reviews - From Zurich: Bus Day Trip to Heidiland and Liechtenstein
★ 4.5 · 2,531 reviews
Old Town Zurich: historic backdrops without the guesswork
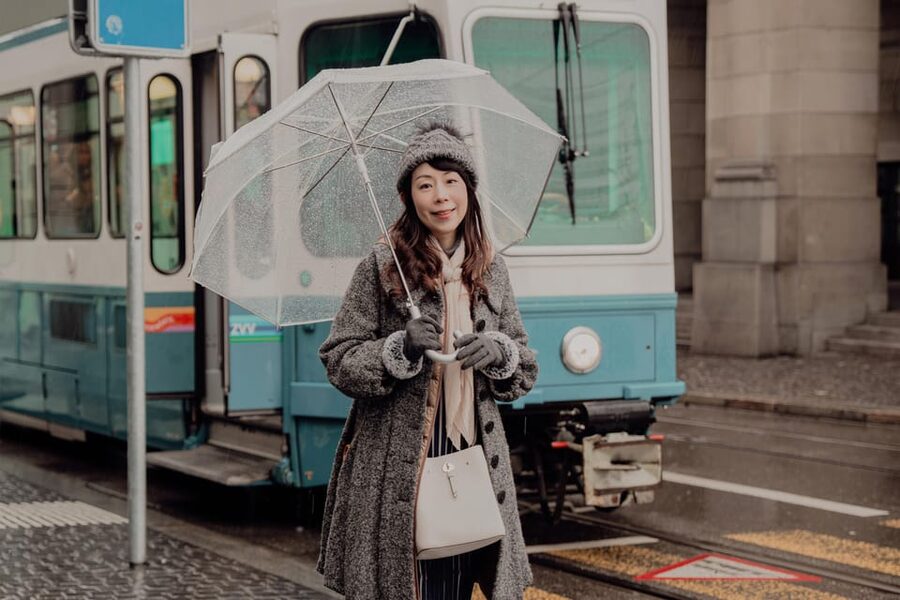
After the big landmarks, you move through the Old Town area for photos against historic streets and buildings. This is where you usually get the most variety for your final album, because the textures change block to block.
Old Town shots can be tricky if you are left alone with your camera. Background clutter, people walking through, and awkward angles can ruin a photo even when the area is beautiful.
In this experience, the photographer helps you stand in places that make the scene look intentional. Even if you do not know how to pose, the guidance is built around helping you get natural results rather than stiff, forced expressions.
If you want photos that feel like Zurich scenes from a travel day, Old Town is a big reason people get excited about the final set.
Lindenhof and the Crash Landing on You viewpoint: scenic and photogenic on a tight schedule
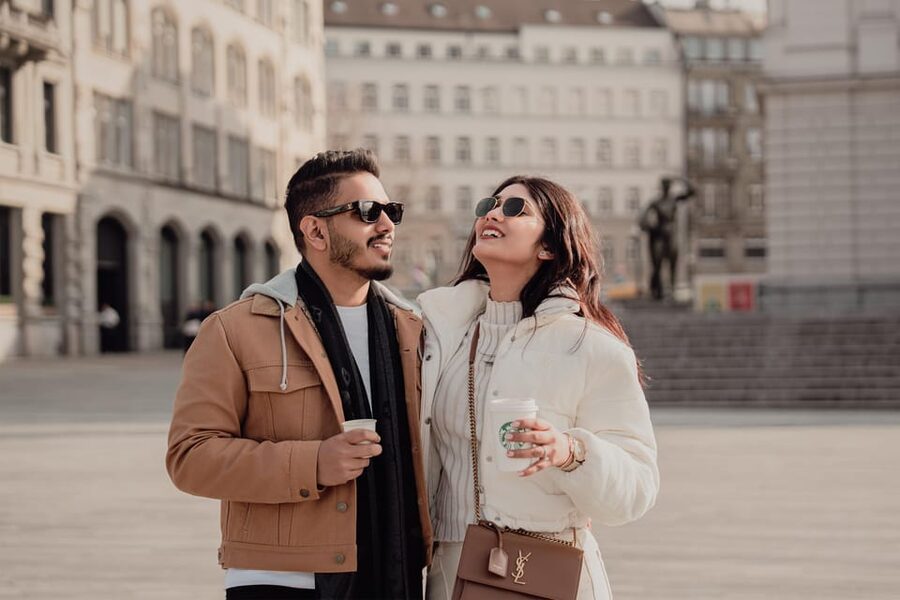
The next highlight is Lindenhof. This is also tied to a popular culture reference, since the viewpoint is known from Crash Landing on You. That connection is fun, but the real value is the view.
Lindenhof works because it gives you elevation and a wider scene. For portraits, that often means more depth in the background and fewer distractions behind you.
The route also includes a short scenic segment on the way to Lindenhof, so you do not feel like you are sprinting from one photo stop to the next. It becomes a more relaxed walk, which helps with your expression in photos too.
If you are the type who hates feeling like you are stopping constantly, this section is a good balance. You get a signature viewpoint without turning the day into nonstop photo interruptions.
Rathausbrücke finish: a satisfying end point for your last photos
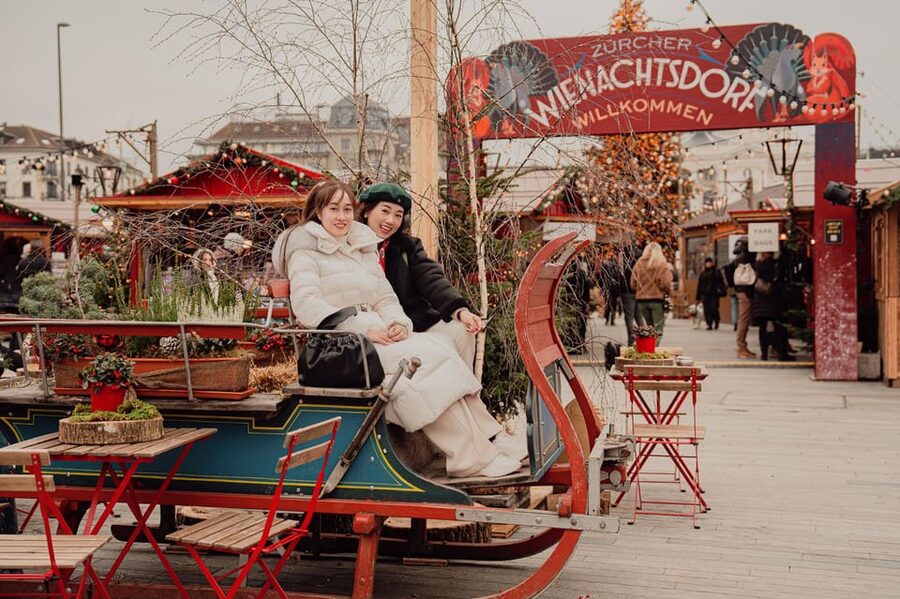
You finish at Rathausbrücke, another scenic bridge location that gives you a final set of images with strong framing. Ending on a bridge is smart, because you can get both portrait-friendly angles and city context shots without changing the whole setting again.
By the time you reach the finish, you usually have a rhythm. You know how the photographer is directing you, you are warmed up from earlier stops, and you can focus on looking relaxed rather than thinking about posing.
If you like having a clean ending point for photos, this wrap-up location is a good choice. It helps you transition back to your day with photos that feel cohesive from start to finish.
Posing help that actually works when you feel camera-shy

Here is what makes this experience different from DIY photos: 90% of customers do not know how to pose and typically do not like doing it. That is not treated like a problem. It is treated like normal.
The photographer helps you with angles and direction, so you are not stuck trying to figure out your own body position. You are also guided toward poses that look natural, not overly staged.
If you have ever done a photoshoot and felt awkward the whole time, this approach is worth your attention. People often walk into portrait sessions feeling tense. Here, the goal is to reduce the tension quickly.
Also, no alcohol or drugs are allowed. That rule matters for keeping the session comfortable and focused for everyone.
What photos you get, and when you get them (the part you will care about most)
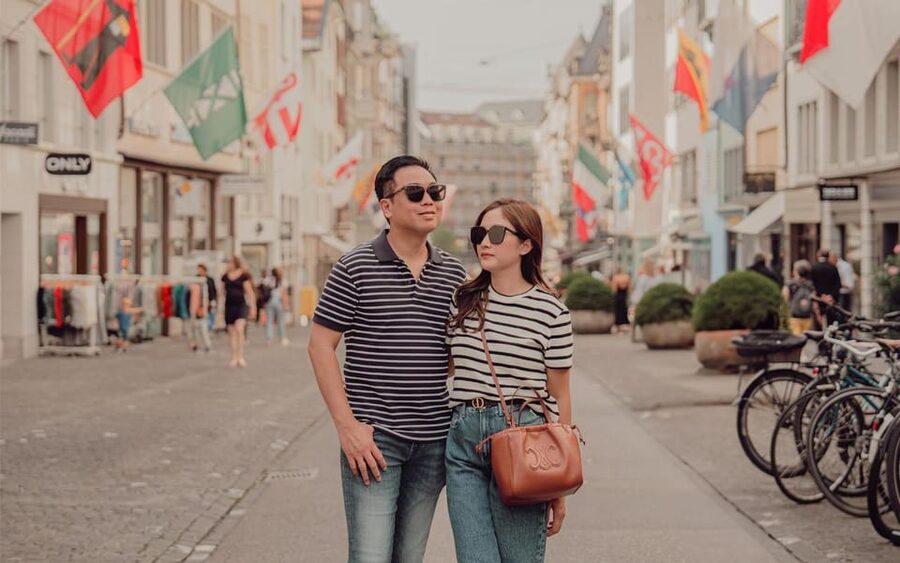
You receive a package of edited photos after the session. The exact number depends on how many people are in your booking:
- For 1 person: 30 edited photos
- For 2 people: 50 edited photos
- For 3 people: 75 edited photos
- For 4 people: 90 edited photos
- For 5 people: 115 edited photos
- For 6 people: 130 edited photos
After the shoot, the final high-resolution, edited, and retouched photos are sent in a digital album within 7 days.
If you want the unedited originals, there are add-ons:
- All original photos: the album with all originals arrives within 24 hours after the photoshoot
- 48h express delivery: originals arrive within 4 hours, and the edited album arrives within 48 hours after you select which photos you want edited
You can also receive original RAW file photos if you choose the right add-on. If you plan to do your own editing later, this is the option to look at.
Value check: is $244 per person worth it?
At $244 per person for a 2 to 2.5 hour session, this is not a budget activity. But it does stack value in a few meaningful ways.
First, you get a guided route to multiple landmark backdrops in a short window. That saves your time and decision fatigue, especially if you only have one shot at Zurich.
Second, you get a real editing and retouching workflow with a defined delivery timeline. Most people do not want to spend days selecting and cleaning up photos after a trip.
Third, the posing support is built for normal people, not models. If you have ever looked at your own travel photos and thought, I need to look less awkward, this is the kind of help that can change what you take home.
Where the math can feel tight is if only one person wants photos, or if your group is larger but not all of you want to be photographed. Since everyone joining the walking portion must pay full price, make sure your group is aligned with the goal.
What to wear in Zurich for photos (white and beige are your safe bet)
The guidance for outfits is simple: wear what you love, but stick to white or beige colors because they look great in photos.
That suggestion is practical. Light, neutral colors tend to photograph cleanly and usually do not fight with historic stone backgrounds or bright architectural tones.
Also, aim for comfortable walking shoes. The session is on foot between stops, so you will look better in photos if you are not constantly adjusting your footing.
If you plan a dressy outfit, great. If you prefer casual, that can work too. The key is choosing colors that photograph well and staying comfortable enough to focus on the moment.
Who you might meet: Hong and Ducee are among the photographers
The provider is Hong Fischer Photography. In real sessions, photographers you may work with include Hong and Ducee, based on confirmed past experiences.
In other words, you are not just buying a route. You are buying the photographer’s ability to direct you into better angles and make you feel comfortable while doing it.
If that matters to you, prioritize the photographer interaction over the specific landmarks. Zurich is photogenic. The difference is whether you feel relaxed enough to look like yourself in front of the camera.
Tips to make your shoot smoother the day of
I would treat this like a calm, guided walk with a photo focus, not like a stressful performance.
- Come with an outfit you feel good in, especially if it is your first time being photographed
- Bring a small water plan if you are out all day, since food and drink are not included
- Keep your energy up, because the session is only a couple of hours and you want to look fresh in every stop
- If you are nervous, tell yourself that the photographer is expecting it and has a method for people who do not know how to pose
You also cannot have alcohol or drugs, so if you planned to celebrate with that, do it after the session.
Should you book this Zurich photo shoot?
Book it if you want photos that look like a professional city experience, but without needing posing skills. The mix of landmark stops, clear guidance, and a defined delivery timeline is a strong match for short trips and first-time photoshoots.
Skip it if you are traveling with people who do not want to be photographed, since everyone joining the walking portion must pay full price. Also, if you love planning and taking your own photos without any direction at all, this may feel like paying for something you could do alone.
If your goal is to take home a set of Zurich photos you actually like, this one is a very solid bet.
FAQ
How long is the Zurich professional photoshoot tour?
The duration is listed as 2 to 2.5 hours.
Where does the photoshoot start, and does the meeting point vary?
Yes, the meeting point may vary depending on the option booked. Starting locations include k kiosk, Grindelwald, and Zurich Opera House.
What locations are included during the session?
The key photo stops include Zurich Opera House and Lake Zurich, Grossmünster, Münsterbrücke, Old Town, Lindenhof, and a finish at Rathausbrücke.
Do I need to know how to pose before the shoot?
No. The photographer will help you with posing and directing you to the best angles, and the format is designed for people who do not know how to pose.
When will I receive the photos after the session?
The final high-resolution, edited, and retouched photos are sent in a digital album within 7 days.
Are original, unedited photos available?
Original, unedited RAW file photos are available as an add-on. With the all originals option, you receive the album within 24 hours. With the 48h express delivery option, originals arrive within 4 hours, and the edited album is delivered within 48 hours after you select the photos to edit.
Is alcohol allowed during the tour?
No. Alcohol and drugs are not allowed.
Recently reviewed around Zurich
- Lindt Home of Chocolate Museum Entry Ticket with Pickup★ 3.5 · 3 reviews
- Zurich: Enjoy a cheese Fondue at home with locals★ 5.0 · 3 reviews
- Zurich: Private Day Trip to Lucerne and Interlaken★ 5.0 · 3 reviews
- Experience Swiss Countryside on a Private Tour by Car from Zurich★ 5.0 · 3 reviews
- Zurich Scavenger Hunt and Highlights Self Guided Audio Tour★ 4.5 · 3 reviews
- Private Hidden Gem Tour in Lungern from Zurich★ 5.0 · 3 reviews
- Airport Transfer: Zurich Airport ZRH to Zurich by Business Car★ 5.0 · 3 reviews
- Flavours of Switzerland Luxury Private Tour from Zurich & Lucerne★ 5.0 · 3 reviews
Photography Sessions, compared.
DAVOS: Paragliding Tandem Flight In Swiss Alps (Video & Photos Included)
Read our review →
DAVOS: Paragliding For 2 Passengers – Together In The Air! (Video&Photos Incl.)
Read our review →
Private Lucerne Old Town Tour w/ Local Guide & Photographer
Read our review →
Lauterbrunnen & Wengen: Photoshoot at the best spots.
Read our review →Private Lucerne Old Town Tour – Local Guide & Photographer
Read our review →
Instagram and Photo tour of Lugano with a professional photographer.
Read our review →Browse the lists this tour appears in